Thursday, December 6, 2012

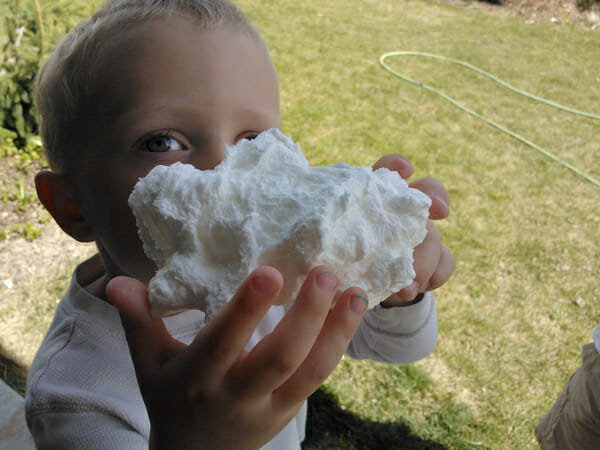
Soap clouds! very fun for you and your kids


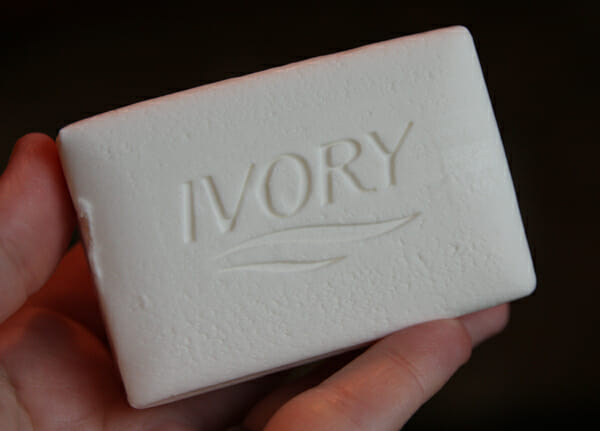
We call these “Soap Clouds.”  Where are all of our chemical engineers?  I need to know why every awesome science project involving soap, hinges on the use of Ivory soap.  Thoughts?  Are there magical ingredients in there?  I’ve always wondered that.  I bet whoever came up with the original recipe never expected that so many science experiments would ensue with its use!  I think the same thing about Elmer’s glue.  Anyway, grab a bar of Ivory soap-yes, only Ivory!  It’s cheap, but don’t worry, you can even use it as soap when we’re done here so we’re not being wasteful.  So you don’t need to write us lengthy emails about being earth-hating-soap-haters.
Place a piece of waxed paper, parchment, plastic wrap, or paper towel in your microwave.  Just don’t use foil, or we’ll have issues on our hands that are much bigger than  your next burrito tasting slightly like a fresh mountain spring.  This really doesn’t make a mess, so don’t be scared.
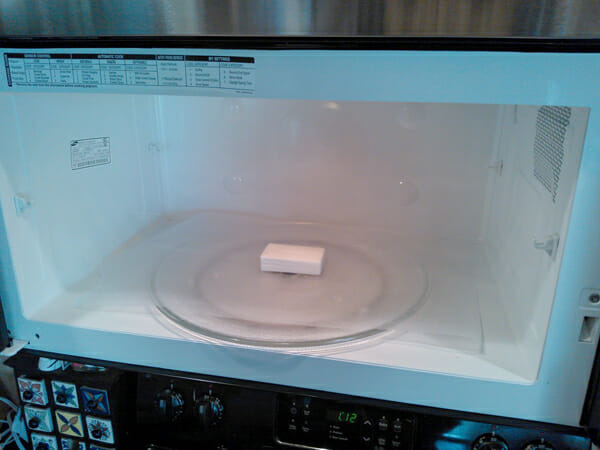
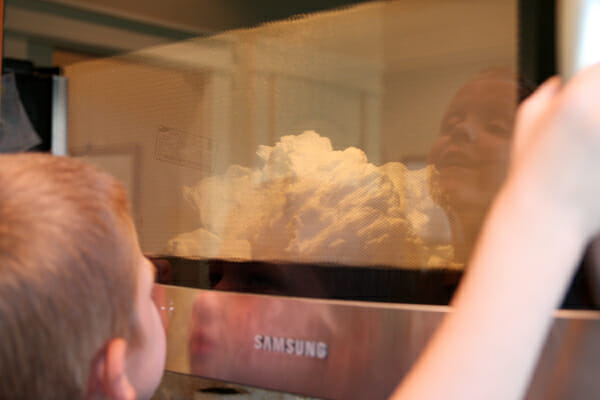
Start your microwave for a couple of minutes on high power.  You don’t need to let it run that whole length of time, but you can just stop it when you need to.  Want to see what happens??  It’s a little hard to see through my microwave door, but check it out (and ignore me when I say you need to turn your microwave turntable off, that’s for if you’re trying to video this experience:))
Ten bonus points for anyone who can reference my children’s ramblings about “the great devourer.”
I don’t know how it does it- but it starts growing!  Sometimes the “clouds” are seriously HUGE, and other times they are sort of wimpy.  I’ve noticed generally, the fresher the soap (as in the more recent I have purchased it) the bigger the result.  We’ve done this a million times and my kids still get a kick out of it.
It looks like it should be foamy and wet, but it’s not.  You can actually pick up the whole big chunk.
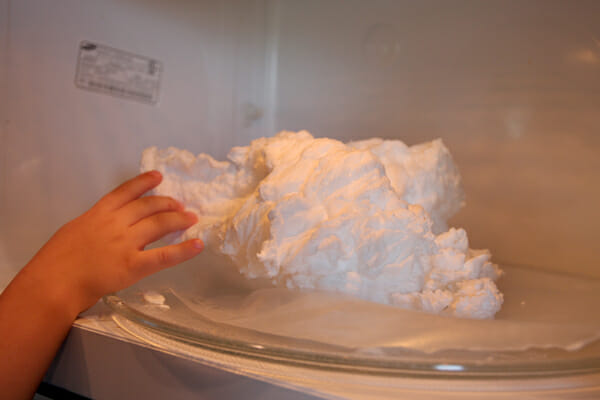
If you smash it, it will break into pieces and you’ll end up with soap dust everywhere, so be careful with little hands who like to smash things :)
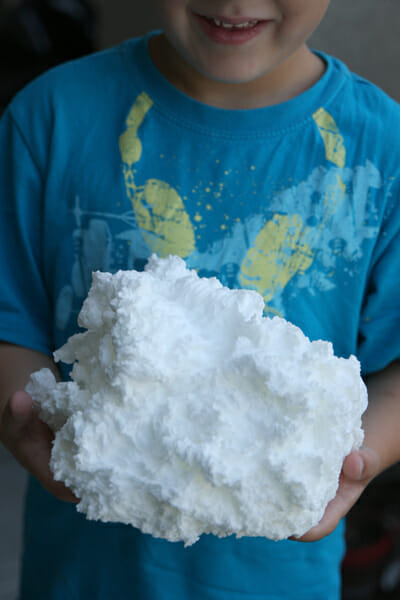
It’s the weirdest looking thing.  I love how it’s different every time.
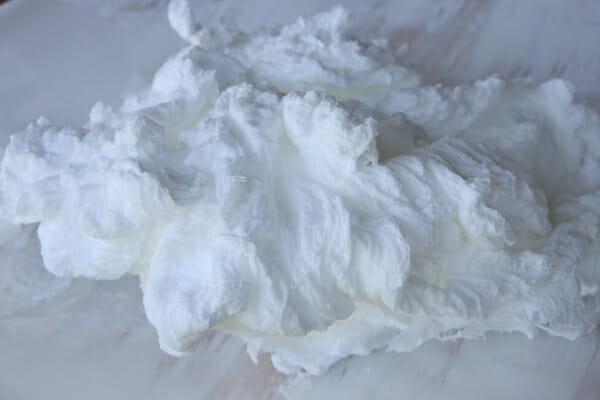
Now.  You have a giant blob of dried soap fluff and your kids were entertained for a total of 3.5 minutes.  That’s a start!  Sometimes I let my kids just take the whole darn thing in the bath tub and have at it.  It’s one way to make sure they actually get cleaned in there.  Or sometimes I hold it up over them in the tub and let it “snow” by smashing it and letting it sprinkle down like little snow flakes.  Or, you can let them make their own little soaps.  First, put the fluff in a bowl and let them do what they’ve probably been trying to do already- smash it to smithereens. It just kind of falls apart, so it’s actually kind of fun.  And if it gets all over your counter, take my advice and sweep or vacuum it up first, then wipe it down.  Otherwise you’ll end up with a big soapy mess.
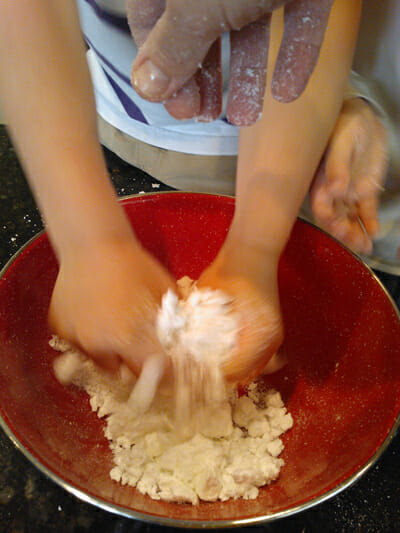
Then, either in a bowl with a spoon, or with an electric beater, or in a food processor, like I’m using, add warm water, just until it comes together.  Just like pie crust, folks!  This is why I love kitchen crafts.  To test it, grab some with your hands and hold it in your fist.  If it holds together in a ball, it’s ready.
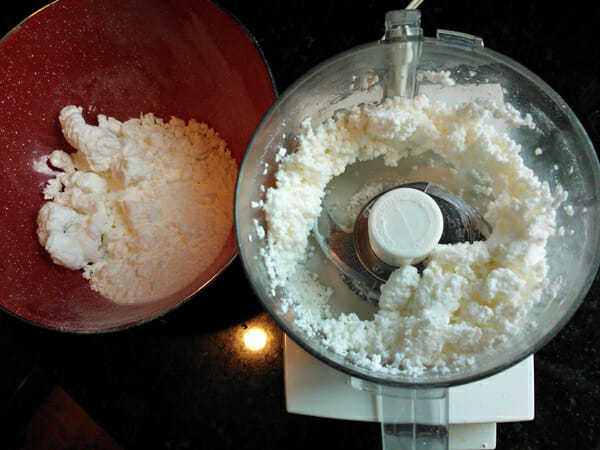
Take the mold-able mixture and let kids press it into cookie cutters.  Make sure kids are old enough to know it’s not food, or they are likely to attempt to eat it!
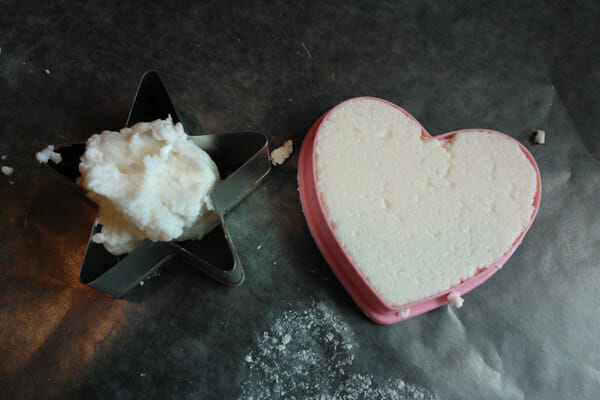
These photos below are from a batch I made a while back, (and photographed with my regular camera) and I let my kids add just a couple of drops of food coloring to make colored soaps.  After the soaps are molded, but still wet, you can gently push them out of the molds.  Let them sit in a cool, dry place for a few days and soon you will have little soaps to wash (or play!) with.
Funny how my kids are always very interested in getting extra clean when it’s with soap they’ve made themselves.
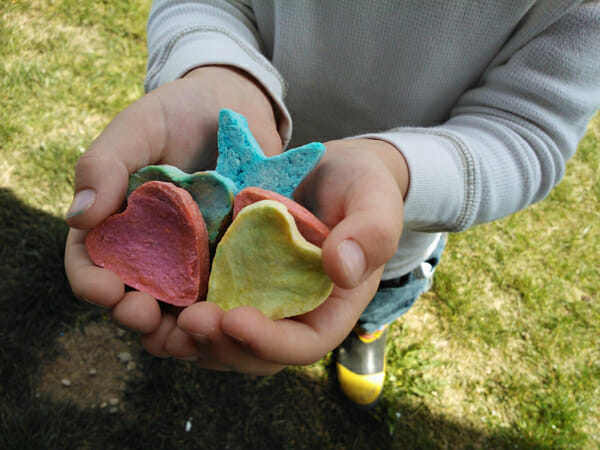
Now go have some fun with your own kiddos today!  Or, just grab some soap and have fun in your office break room at lunch.  C’mon- you know you want to.

7 ways to teach your child to stick up for themselves

Building Character 7 Ways to Teach Children How to Stick Up for Themselves

There has been a lot of talk recently about bullying.  Although bullying is very real and difficult for many children, teaching your child to stand up for themselves or speak up for themselves is an important skill when faced with bullying or even everyday situations in which they may just not agree with the other person.
Here are some ways to help your child develop the tools necessary to stand up in a situation.  It may not be easy for your child, but these may be good places to start.


1.  Giving Words – Many children don’t know the words to use when they disagree or want out of a situation.  Watch a movie or TV show together (or read a book!) and talk about how the characters handled the situation and words used.  Then talk about other options together.

2.  Catch It Early – Expect your child to have trouble standing up for themselves.  Children aren’t always ready and able at the age of 3 to know how to handle situations.  Talk with them about how to say no, walk away, use words, and explain their needs to adults.  Children need to know how to talk to adults when they are uncomfortable with a situation as much as they need to talk to peers.


3.  Provide an Example – Give an example of when you successfully (or unsuccessfully) did not stand up for yourself as a child.  Talk about your emotions and reactions to what happened and that you know it can be difficult or frustrating.  Show real time examples of you standing up for yourself. 

4.  Give Child Decisions – When children never have the opportunity to make decisions in situations, they often continue a helpless pattern as teens and adults.  By asking your child to decide about simple things like clothes to wear, the order to do chores, and how to spend their money on vacation, you give them the ability and practice to make decisions and explaining why.  By explaining why to adults, they often have to give words and reasoning that will be helpful later in life when they talk with college professors and colleagues.

5.  Discourage Peer Worship – Most parents know what happened to Britney Spears and as sad as her story was, it can be even more important to think about what happened to Britney’s young fans along the way.  It’s great to watch young children enjoy shows and friends, but when you see children doing it “only because Miley Cyrus is doing it,” you may have some issues.  Teach your children that they are just people, too, and talk about the decisions you see the peer or pop star make.

6.  Teach them to Advocate – Ever since I was young, I was taught that I needed to stand up for myself.  I remember in the 6thgrade, I went to the principal because I did not want to attend a special class because I fundamentally disagreed with it.  If my 3-year-old wants a cookie at the bakery at the local store, he needs to ask.  If he doesn’t ask, he doesn’t get a cookie.  Teach them early how to advocate with others and you have just taught a skill for life. 

7.  Give Them an Out – In my family, one rule about going to friend’s houses was known by all of us.  If you ever were uncomfortable or didn’t like what was happening at the house, just call home and we would be picked up.  Sometimes situations are too overwhelming or challenging for young children and teens and they need to know they have a safe place to fall.  Teach them the lines, “We don’t do that at our house” or “My mom won’t let me” so your children know they have an out if nothing works.

Fun science experiments to do with your kids!

Fizzy Magic Potion

Science Bob's Lava in a Cup

 No Hand Balloon Inflate

Each of these experiments were easily done with stuff I had around the house. The hardest part was the gathering of supplies and then the clean up...you will see what I mean!

First experiment: Fizzy Magic Potion


you will need:
white vinegar
liquid dish soap
food coloring
baking soda
clear containers
excited kids


Fill each cup about half way with white vinegar. Then add in a couple squirts of soap and a couple drops of food coloring. Stir.


Get a heaping spoonful of baking soda...oh and a couple of towels...


I promise he was more excited than he looks in this photo.


Add the baking soda and get ready!


The fizzy magic starts right away...


Oh-so-excited!!!


It might get out of control. Not sure why the green wen to crazy!


But crazy it did go!


Remember how I said to have towels ready? You will need them here!


This was by far the favorite experiment of the day.

Second experiment: Lava in a Cup


you will need:
water
vegetable oil
food coloring
salt
clear container

This experiment wasn't as exciting for my boys, but it was still fun to watch.

First you fill up the cup 3/4 the way with water. Then stir in a couple of drops of food coloring. Then slowly pour in some oil...I am not sure I used enough and perhaps that is why this experiment wasn't as exciting. Upon re-reading the instructions, I DID NOT add enough oil. You need to add 1/4 cup oil!

Once the oil is in, observe how it floats on top of the water.

Then sprinkle a teaspoon of salt over the top. The salt will immediately sink because salt is heavier than the oil. The salt with take the oil as it goes. Then as the salt dissolves the oil will float back to the top...hence the lava effect.

Our lava effect wasn't too profound...cool, but not to profound.


I would try this one again with more oil next time.

Third experiment: No Hands Balloon Inflate


you will need:
glass bottle
balloon
4 TBS white vinegar
4 TBS baking soda

Add the vinegar to the bottle. Remind your kids it is NOT water or Sprite and that they DO NOT want to drink it...they might ask.


Using a funnel, pour the baking soda into the balloon.


Attach the balloon to the mouth of the bottle making sure that none of the baking soda gets in yet.
Let balloon hang to the side. Then have your little helper slowly lift the balloon over the bottle.


As the baking soda falls in there will be a fuzzy reaction and the gas released will inflate the balloon.


Woohoo!

Just imagine the fun you could have with an Erupting pumpkin after you carve your pumkins on halloween

Pin It
It truly never gets old!  All you need for this activity is a carved pumpkin, some baking soda, and vinegar.  Food coloring is optional but highly recommended as it adds to the fun Science!
volcanic eruptions experiment for kids Halloween activity
We filled our pumpkins with some baking soda and a few drops of food coloring.  We didn't measure, but I estimate we used about 4 tablespoons of baking soda per pumpkin.  Then we added the vinegar and the eruptions began!
volcanic eruptions experiment for kids Halloween activity
Our hope was for the whole pumpkin face to erupt, but the pumpkins were so large and the mouths so big that the eruptions only came out of the mouth.  However, Rosie didn't care one bit!  She thought the erupting pumpkins were so cool!
volcanic eruptions experiment for kids Halloween activity

Pin It

make some jello playdough and have fun with your kids

Get in touch with your creative side. make some playdough and just have fun playing with it with your kids. They will love it. 
Jello Playdough Recipe

Ingredients for this Jello playdough recipe:

  • white flour – 1 cup
  • salt – 2 tbsp
  • cream of tartar – 2 tbsp
  • cooking oil – 2 tbsp
  • warm water – 1 cup
  • Jello – 1 3oz pack

Directions for this Jello playdough recipe:

Add all the ingredients together in a big mixing bowl
Mix all the ingredients together until consistent
Pour into a pan and stir continuously
Wait for it to thicken into a big ball and then place it on a piece of wax paper to cool
Kneed it for a few minutes once cooled with some flour
Add any food coloring or glitter to spice things up!
Start playing!

Read a book and then do a craft to go along with the book. Your kid will remember it forever.


Here is a list of 14 crafts we've made to go along with 14 books we've read. 
Click on a picture to see the post.
Or click HERE to see all these posts.